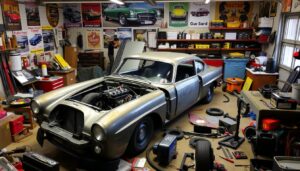
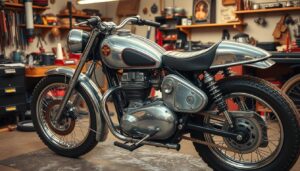
Unlock your motorcycle’s full potential with a DIY frame restoration. If your bike’s frame is worn out or you want to bring back its vintage look, this guide is for you. We’ll show you how to restore your motorcycle frame step by step. From taking it apart to adding the final touches, we’ve got you covered.
Key Takeaways
- Discover the benefits of a DIY motorcycle frame restoration project
- Learn how to properly prepare your workspace and gather the necessary tools
- Understand the step-by-step process of disassembling, sandblasting, repairing, and refinishing your motorcycle frame
- Explore techniques for straightening bent or twisted frame sections and repairing cracks and holes
- Gain confidence in reassembling your restored motorcycle frame with attention to detail
Introduction to Motorcycle Frame Restoration
Restoring your motorcycle’s frame can give your bike a new lease on life. This hands-on project lets you understand your bike’s structure better. It also brings the joy of reviving a vintage or classic motorcycle.
Whether you’re doing a motorcycle frame restoration or a vintage motorcycle frame restoration, it’s cheaper than buying a new frame.
Why Restore Your Motorcycle Frame?
Restoring your motorcycle frame has many benefits:
- It keeps your bike’s unique character and history alive.
- It fixes structural issues, making your bike last longer.
- You can customize the frame to fit your style.
- It might even increase your bike’s resale value.
Benefits of a DIY Motorcycle Frame Restoration
Doing a motorcycle frame restoration yourself has its perks:
- It saves money compared to hiring a pro.
- You learn about your bike’s mechanics and structure.
- It’s rewarding to revive your motorcycle with your own hands.
- You can customize the frame exactly how you want it.
Restoring your motorcycle’s frame, whether it’s vintage, classic, or modern, is rewarding. With the right tools, a good workspace, and some hard work, you can make your motorcycle unique and special.
Preparing Your Workspace and Tools
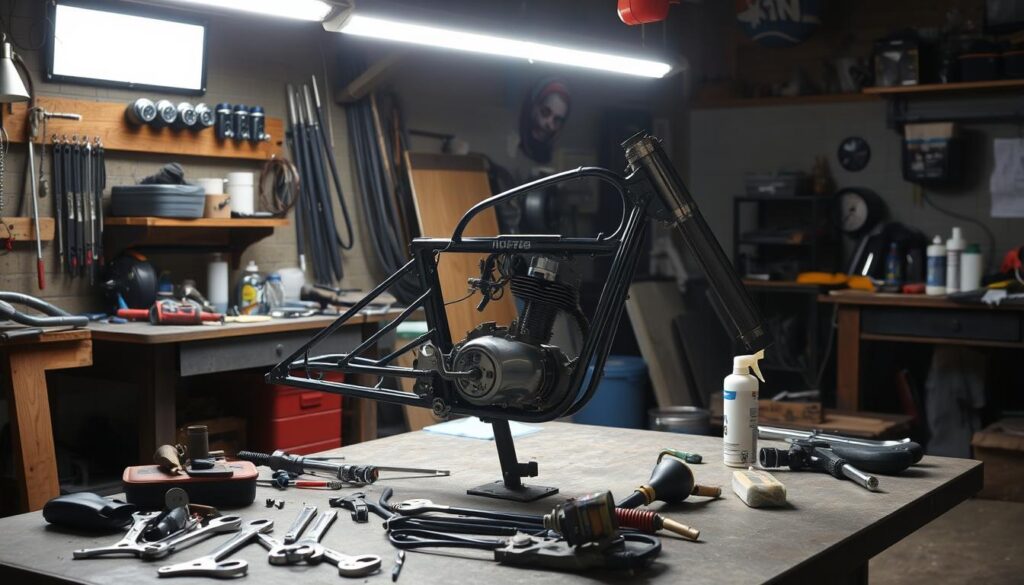
Before starting your motorcycle frame restoration project, make sure your workspace is ready. It should be clean and organized. This step is key to a smooth restoration process.
First, pick a big, bright area where you can easily move around the motorcycle frame. The space should be clutter-free and safe. A garage or workshop is perfect for this project.
- Get a strong workbench or table that can hold your motorcycle frame’s size and weight.
- Collect all needed tools, like a welder, grinder, sandblaster, paint sprayer, and hand tools.
- Make sure you have a reliable power source and safety gear, such as gloves, goggles, and a respirator mask.
Organizing your workspace and tools well makes the motorcycle frame repair process better. It also keeps you safe and improves the restoration’s quality.
“A clean, well-organized workspace is the foundation for a successful motorcycle frame restoration project.”
By preparing your workspace and getting the right tools, you’re ready to restore your motorcycle frame. You’ll be on your way to making it look like new again.
Disassembling Your Motorcycle Frame
Before starting the motorcycle frame restoration, you need to disassemble your bike’s frame. This step is key. It lets you access the frame fully and makes restoration work easier. Let’s look at the main steps for disassembling your motorcycle frame.
Removing the Engine and Components
The first step is to remove the engine and its parts. This includes the fuel tank, carburetor, wiring harness, and other engine parts. Take your time and document the removal. This ensures everything can be put back together correctly later.
Separating the Frame from the Swingarm
After removing the engine and parts, focus on separating the frame from the swingarm. You’ll need to disconnect the rear suspension linkage and remove the pivot bolts. Be careful, as the frame and swingarm are heavy and need support.
- Disconnect the rear suspension linkage
- Remove the pivot bolts holding the frame and swingarm together
- Carefully separate the frame and swingarm, ensuring they are properly supported
By carefully disassembling your motorcycle frame, you can inspect and restore each part. This sets the stage for a successful motorcycle frame restoration project.
how to restore a motorcycle frame
Restoring a motorcycle frame is a fun DIY project. It can make your bike look new again. The steps to how to restore a motorcycle frame are important. Let’s look at how to make your motorcycle frame shine like before.
Disassemble the Frame
The first thing to do is take apart the frame. Remove the engine, suspension, and other parts. Be careful and keep track of where everything goes so you can put it back right.
Clean and Inspect
After taking everything off, clean and check the frame. Sandblasting can get rid of old paint and rust. Look for any damage or wear that needs fixing.
Straighten and Repair
- If the frame is bent, use special tools to fix it.
- Fix any cracks or holes by welding them.
Refinish the Frame
Now that the frame is fixed, get it ready for paint. Sand, prime, and paint it as the maker suggests. This will make the paint last longer and look better.
By following these steps, you can make your motorcycle frame look new again. Take your time, be careful, and enjoy fixing your bike.
Sandblasting and Cleaning the Frame
To make your motorcycle frame look new again, you need a deep clean. Motorcycle frame sandblasting is a top choice for getting rid of rust, paint, and dirt. It uses high-pressure air to blast small particles at the frame, removing unwanted stuff and showing the metal underneath.
Safety Precautions for Sandblasting
Motorcycle frame sandblasting is great for cleaning, but safety comes first. Here’s what you must do:
- Wear the right gear, like a respirator, safety goggles, and thick gloves.
- Make sure your area is well-ventilated to avoid dust and debris.
- Protect any parts you don’t want to sandblast.
- Clean the frame well after sandblasting to get rid of leftover particles.
By following these steps, you can safely clean your motorcycle frame and keep it in good shape.
“Sandblasting is an essential step in the motorcycle frame restoration process, as it prepares the surface for the next stages of repair and refinishing.”
After sandblasting, you’re ready for the next part of restoring your motorcycle frame. Keep an eye out for tips on checking and fixing any damage to the frame.
Inspecting and Repairing Damage
After sandblasting and cleaning your motorcycle frame, it’s time to check for damage. This step is vital to fix your bike’s structure. Look for bends, twists, cracks, and holes in the frame. These problems can make your bike unstable and unsafe.
Straightening Bent or Twisted Sections
If your frame has bent or twisted sections, you can fix it. Use special tools and methods to straighten it. This will make your bike’s frame strong and safe again.
Welding Cracks and Holes
You might find cracks or holes in the frame. These can be dangerous if not fixed. Skilled motorcycle frame welding can repair these issues. This will make your frame strong and durable again.
Being careful and detailed is important when fixing your motorcycle frame. Fixing any damage right away will help your bike last longer and be safer to ride.
Motorcycle Frame Refinishing
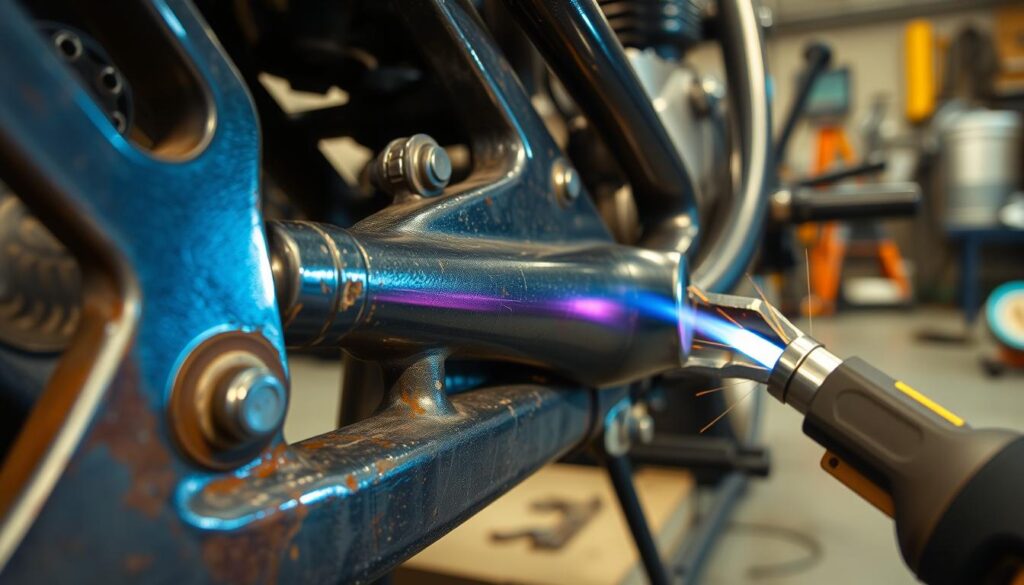
Now that your motorcycle frame is clean and fixed, it’s time to refinish it. Getting the surface ready is crucial for a lasting, quality paint job. Let’s look at the steps to prepare your frame for a new look.
Preparing the Surface for Paint
Before painting, the surface must be perfectly prepared. This means degreasing and priming to create a solid base for the paint.
- Degreasing: Begin by degreasing the frame to remove oils, grease, and dirt. Use a strong degreaser or solvent to clean it thoroughly.
- Sanding: Then, sand the surface with finer grits to smooth it out. This removes old paint and imperfections, ensuring the new paint sticks well.
- Priming: After cleaning and sanding, apply a quality primer to the entire frame. This helps the paint adhere and gives a uniform base for the finish.
By carefully preparing the surface, you’ll get a flawless motorcycle frame refinishing and motorcycle frame painting job. Your bike will have a stunning, lasting finish.
“Proper surface preparation is the key to a beautiful, long-lasting paint job on your restored motorcycle frame.”
Reassembling the Restored Frame
After restoring your motorcycle’s frame, it’s time to put the whole bike back together. This step needs careful attention to make sure everything fits right and is secure. Follow these steps to bring your motorcycle back to life smoothly.
- Reinstall the engine: Gently place the engine back into the motorcycle frame and secure it using the right fasteners.
- Reattach the components: Carefully reconnect all needed parts, like wiring, fuel lines, and brake lines. Make sure they’re secure and work well.
- Reinstall the swingarm: Align the swingarm with the motorcycle frame restoration and attach it. Make sure the suspension is set up right.
- Check for proper alignment: Use a straightedge or a frame alignment tool to check if the motorcycle frame reassembly is straight. Make sure all parts are in the right spot.
- Tighten all fasteners: Double-check that all nuts, bolts, and screws are tightened right. This prevents problems when you ride.
By following these steps, you can confidently put your motorcycle’s frame back together. Take your time and double-check your work for a successful motorcycle frame restoration project.
| Step | Description |
|---|---|
| 1. Reinstall the engine | Carefully place the engine back into the motorcycle frame and secure it using the appropriate fasteners. |
| 2. Reattach the components | Reconnect all the necessary components, such as the wiring harness, fuel lines, and brake lines, ensuring a secure and functional connection. |
| 3. Reinstall the swingarm | Align the swingarm with the motorcycle frame restoration and reattach it, making sure the suspension is properly set up. |
| 4. Check for proper alignment | Use a straightedge or a frame alignment tool to ensure the motorcycle frame reassembly is perfectly straight and all components are correctly positioned. |
| 5. Tighten all fasteners | Double-check that all nuts, bolts, and screws are tightened to the recommended specifications to prevent any issues during operation. |
“Attention to detail is the key to a successful motorcycle frame restoration project.”
Final Touches and Maintenance
After restoring your vintage motorcycle frame, it’s time for the final touches. You also need a maintenance plan to keep it looking and running great. This is key to making your motorcycle last a long time.
First, make sure all new parts like bolts and nuts are in place. Check that everything is tight. A secure frame is vital for safe riding. Then, oil all moving parts to keep them running smoothly and prevent wear.
- Look for any remaining flaws and fix them with paint or polish.
- Give the frame a good clean and degrease, focusing on hard-to-reach spots.
- Use a protective coating to keep the paint fresh and prevent rust.
To keep your motorcycle frame maintenance up, create a regular care routine. This should include:
- Regular checks for wear or damage
- Oil all moving parts as the maker suggests
- Clean the frame to remove dirt and grime
- Apply a protective coating to the paint or powder coat
By finishing these steps and sticking to a maintenance plan, you’ll enjoy your vintage motorcycle frame restoration for many years. Your bike will look great and ride smoothly, thanks to your hard work.
Conclusion
By following this guide, you’ve brought your motorcycle frame back to life. Whether it was a vintage classic or a well-loved bike, the joy of finishing this project is unmatched.
It’s important to keep your restored motorcycle frame in good shape. Check it often for any signs of wear or damage. Fixing problems quickly helps keep it in top condition. This way, your bike will stay reliable and fun to ride for many years.
As you ride your bike, be proud of the effort you put into restoring a motorcycle frame. This journey has made your bike look and run better. It has also improved your mechanical skills and deepened your appreciation for motorcycle frame restoration.
FAQ
Why is it important to restore my motorcycle frame?
Restoring your motorcycle frame can give your bike a new life. It’s cheaper than buying a new frame. You’ll learn more about your bike and feel proud of fixing it yourself.
What are the benefits of a DIY motorcycle frame restoration?
Doing it yourself saves money and teaches you about your bike’s structure. You’ll also feel proud of bringing your bike back to life.
How do I prepare my workspace and gather the necessary tools for a frame restoration?
First, set up a clean, organized workspace. Then, get all the tools you need. This makes the project go smoothly from start to finish.
What is the process for disassembling my motorcycle frame?
Start by taking apart the whole bike. Remove the engine and parts, and separate the frame from the swingarm. This makes the restoration easier.
How do I properly sandblast and clean my motorcycle frame?
Sandblasting removes rust and dirt from the frame. But, wear safety gear to avoid injury and ensure a safe process.
What steps are involved in inspecting and repairing damage to my motorcycle frame?
After cleaning, check the frame for damage like bends or cracks. Fix these to keep the frame strong and stable.
How do I properly refinish my motorcycle frame?
Clean and repair the frame, then refinish it. Make sure to prepare the surface well for a lasting paint job.
What is the process for reassembling my restored motorcycle frame?
Put everything back together carefully. Make sure the engine, parts, and swingarm are aligned and secure.
How do I add the final touches and maintain my restored motorcycle frame?
After reassembly, add the last details like new hardware and lubricate parts. Regular checks keep your bike in top shape.

