Have you ever considered changing your car’s oil on your own? It might seem like a daunting task, but with the right knowledge and tools, it’s a simple process that could save you both time and money. Don’t worry, this guide is designed to remove the mystery and give you a clear set of steps to follow.
Trust us: this is a skill that’s worth picking up. Not only does it save you a trip to the mechanic, but it also allows you to understand your vehicle better. You’ll gain a new appreciation for your car, and the confidence that comes with knowing you can handle one of its most essential maintenance tasks.
Importance of Regular Oil Changes
Keeping a regular schedule for oil changes isn’t just a suggestion; it’s an imperative aspect of car maintenance. The oil functions as the lifeblood of your engine, lubricating moving parts to prevent damages due to excessive friction.
Moreover, it plays a vital role in dispersing heat, thereby preventing engine overheating. Regular oil changes ensure your engine operates efficiently and lasts longer, sparing you costly repairs down the line. Now, let’s delve deeper into why you need to regularly change your car’s oil.
Preventing Engine Wear and Tear
Continual usage of your car leads to metal-to-metal contact, leading to wear and tear of your engine parts. Oil introduces a lubricating layer to lessen this contact and provides a shield against potential damages.
However, over time, this oil breaks down, losing its effectiveness. A routine oil change replaces the old, ineffective oil with new oil, rejuvenating this protective layer. It’s not merely a recommendation—it’s a necessary preventive action.
A regular change schedule also helps you eliminate any dirt or particulates that might have found their way into the oil, which can lead to additional engine wear if not addressed.
Better Fuel Efficiency
Enhanced fuel efficiency is another major benefit of routine oil changes. Anything that causes friction in your engine makes it work harder, resulting in increased fuel consumption. Regular oil changes help maintain optimum engine performance and thereby, contribute to better fuel efficiency.
Several factors influence your vehicle’s fuel mileage, but a well-lubricated engine undeniably contributes to efficient fuel usage. It’s a straightforward equation: Less friction equals less energy consumption. Keep that oil fresh, and your engine—and wallet—will thank you.
Also, using the right grade of engine oil can help improve your vehicle’s fuel economy by 1-2%, according to the U.S. Department of Energy.
Reduced Emissions
Regular oil changes also contribute to a cleaner environment by reducing your vehicle’s emissions. Clean oil enables your engine to burn fuel more efficiently, thereby emitting fewer exhaust fumes.
On the other hand, dirty oil can cause the buildup of harmful engine deposits which, in turn, cause higher emissions. Not to mention, degraded or contaminated oil can lead to incomplete combustion and increased engine exhaust.
By changing the oil regularly, you’re not just maintaining your engine, but you’re also doing a small part in reducing your carbon footprint.
Gathering Necessary Tools and Safety Equipment
Having the proper tools and safety gear on hand is a crucial part of successfully changing your oil. It’s not just about personal safety, it’s also about efficiency and avoiding unnecessary hiccups. Imagine getting midway through the process and discovering you lack a key piece of equipment.
To sidestep such situations and ensure a smooth, safe oil change, it’s smart to prepare all your necessary tools from the get-go. For ease of understanding, we’ve classified these items into two categories: essential gear and those that are optional but can be incredibly handy.
Essential Tools and Safety Gear
- Wrench
- Oil filter wrench
- Oil drain pan
- Funnel
- Jacks and stands or ramps
- Car owner’s manual
- Safety glasses and gloves
These tools are mandatory when changing car’s oil. A wrench is required for loosening the drain plug. An oil filter wrench is used specifically to remove the old oil filter which can often be tricky to dismantle due to heat exposure and oil sediments. You’ll need an oil drain pan to catch the old oil for proper disposal. To avoid spillage when refilling the engine with new oil, you’ll need a funnel.
A pair of jacks and stands/or ramps will elevate your car, giving you clearer access to the oil drain plug underneath. Your car owner’s manual will guide you on key details like the right oil type, oil capacity, and location of the oil filter. Lastly, don’t forget your safety glasses and gloves to protect your eyes and skin from oil splashes.
Additional But Useful Equipment
- Oil absorbent or cat litter
- Work light
- Shop towels or rags
- Engine oil cooler
Preparation: Locating and Accessing Your Oil Drain Plug
Before you can start the process of changing your car’s oil, it’s crucial to locate the oil drain plug. This is typically found on the underside of your car’s engine oil pan. You’ll need to get access to this plug if you’re going to drain the old oil properly. Since all cars have different designs, the exact position may vary, but it’s often easy to spot as it’s usually the only plug beneath the car.
Once you’ve located the plug, you’ll need to assess how you can access it. In some cars, you can reach it by simply lying under the car. But in most cases, you’ll need to raise the car off the ground for easy access. For this task, you can use a car jack, jack stands, or ramps, depending on what you have at your disposal. Safety is paramount at this point, so make sure the car is stable before you start.
Locating the Oil Drain Plug
Known as the gateway to your engine’s old oil, the oil drain plug deserves your attention. To locate it, first, park your car on a flat surface and secure it; you don’t want it moving. Then crawl under your car and look at the underside.
The oil pan is usually a large, metal, rectangular-like object. The oil drain plug is typically located at the bottom edge, often off to one side. Don’t confuse this with the transmission drain plug, which is normally located behind the engine oil pan.
If you’re finding it difficult to locate the drain plug, it may be useful to consult your car’s user manual or perform a simple online search with your car’s model. Everything will fall into place once you know where to look.
Accessing the Oil Drain Plug
Now that you’ve located your car’s oil drain plug, the next step is to get to it.
If you have a high ground clearance vehicle, you might not need to raise it. However, for most cars, especially those with low ground clearance, using a car jack, jack stands, or ramps would be necessary to create enough space to perform the oil change. Make certain the car is stable before you operate beneath it.
Using a car jack, raise the vehicle. Make sure to only place the jack on the jack points as indicated in your vehicle’s owner’s manual. Once you’ve safely raised the vehicle, place your jack stands under it for added security. If using car ramps, align them with the front tires and slowly drive upon them until the car is at the top of the ramp.
Ensure the car is safely elevated before sliding underneath. At this point, your oil drain plug will be within reach, and you’ll be ready to move on to the next step of changing your car’s oil.
Changing the Oil Filter: Steps and Tips
Now, let’s delve deeper into one of the essential components of your oil changing process – changing the oil filter. An oil filter is a nifty tool that catches any dirt or debris that might be swimming around in your oil, keeping your engine clean and performance-ready. It’s crucial to replace this filter each time you change your oil, as a clogged filter can cause your engine to work harder than it should, reducing its lifespan. Here, we’ve broken down the process for you:
- Step 1: Firstly, locate the oil filter. This is most easily done by referring to your vehicle’s handbook. Alternatively, look for a cylindrical object located near the engine.
- Step 2: Once located, use an oil filter wrench to loosen it. While you can technically remove it by hand, using a wrench ensures you can remove it safely and cleanly.
- Step 3: Place your oil catch pan underneath the filter to catch any residual oil that could leak out when you remove it.
- Step 4: Carefully unscrew the oil filter and remove it. Be mindful that it will be full of oil, so handle it gently to avoid spillages.
- Step 5: Before installing the new filter, apply a little new oil to the rubber seal on the top. This will provide a tighter seal and prevent any oil leaks.
- Step 6: Screw in the new oil filter by hand. It should be tightened just till it’s snug, over-tightening could damage the filter or the engine.
- Step 7: Lastly, double-check that everything is tightly secured before proceeding to pour in new oil.
These steps, if followed correctly, will ensure a successful oil filter change, keeping your car purring happily. Moreover, regularly changing your oil filter will, over time, save you money by keeping your engine running efficiently and adding to its lifespan.
Adding New Oil: How Much and How Often?
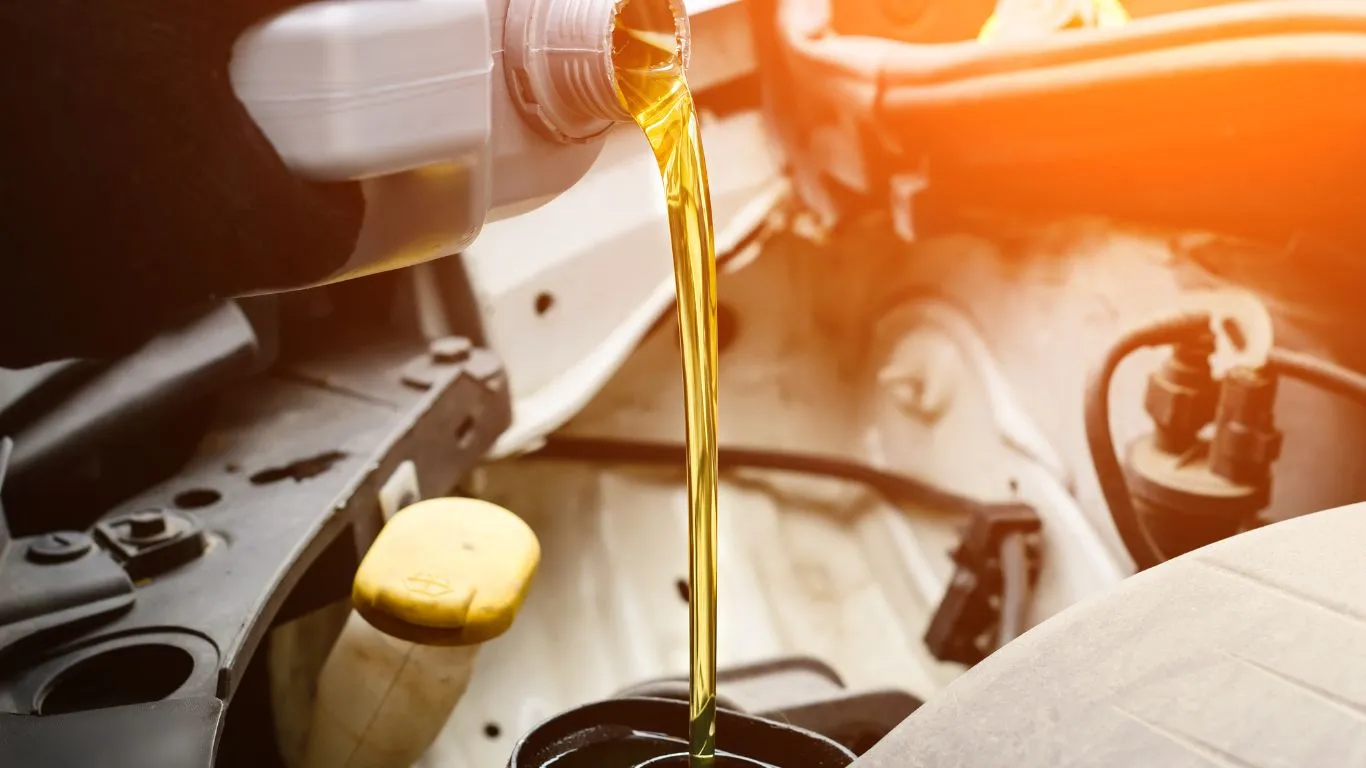
Now, we’re onto the exciting part – adding fresh oil to your vehicle. However, people often wonder exactly how much new oil their car needs, and how often they should change it. This largely depends on your car’s make and model, so always refer to your vehicle’s manual for accurate information.
Commonly, most cars will need between 4 to 6 quarts of oil. But remember, overfilling can cause as many issues as underfilling, so it’s important to get the balance just right. A good strategy here is to add less than you think the car needs, wait a couple of minutes for the oil to drain into the pan, then continue gradually, checking the dipstick as you go, until you’ve reached the correct level.
As for how often you should change your car’s oil, stick to the schedule recommended by your vehicle’s manufacturer. Typically, newer cars may allow for longer intervals between oil changes due to better engine technology, while older cars generally might require more frequent changes. However, a good rule of thumb to follow is changing your oil every 3,000 to 5,000 miles.
Keep in mind that conditions like driving in severe weather, heavy traffic, or towing can lead to quicker oil degradation, necessitating more regular changes. Regular check-ups can help ensure your car always has adequate, high-quality oil to keep it functioning optimally.
Safety Precautions During DIY Oil Change
Embarking on a do-it-yourself (DIY) oil change isn’t just about saving time and money; it’s also crucial to ensure your safety throughout the process. You’re working with weighty machinery and combustible substances, after all.
Let’s guide you through a myriad of recommended precautions to help avoid any injuries or unexpected predicaments. Here’s how to proceed safely with your car’s oil change, starting from securing your workspace to appropriately disposing of used motor oil.
Securing Your Workspace
Before you start changing the car’s oil, it’s essential to ensure your workspace is well-organized, properly lighted, and secured. In fact, a chaotic environment may be the birthplace of potential hazards.
Start by clearing your workspace of any unnecessary items or debris that may pose a tripping risk. Then, ensure your workspace is well-lit to help you see clearly and prevent any mishaps.
It’s also advisable to keep kids and pets away from your workspace when changing the oil yourself.
Using Jack Stands and Wheel Chocks
A stable vehicle is a fundamental requirement during an oil change. Relying solely on a car jack is overly risky because it can dislodge, causing the car to fall. Safe practice necessitates the use of jack stands and wheel chocks.
Firstly, jack stands should be utilized to support the car once it has been raised. Placing them under solid parts of the vehicle’s frame adds an extra stability layer.
Meanwhile, wheel chocks prevent unwanted movement by constraining the wheels. They are typically placed on the wheels on the ground, ensuring your vehicle is sturdy and stationary throughout the process.
Wearing Appropriate Attire and Safety Gear
An often overlooked aspect of safety during a DIY oil change is wearing the right attire. Clothing should be comfortable, non-flammable, and not too loose to prevent it from getting caught in any vehicle parts.
Protective eyewear is crucial to guard your eyes from potentially harmful particles or old, dirty oil. Rubber gloves aren’t just for keeping your hands clean; they prevent burns from hot oil and cuts from sharp components. Closed-toe shoes provide protection for your feet from heavy tools and car parts.
Handling Hot Oil and Components
A car engine can be extremely dangerous on account of how hot it gets. Components under your hood, including the oil, will be hot and can result in severe burns if the vehicle has been running.
Thus, always ensure your car has cooled down before starting your DIY oil change. If you need to change the oil right after a drive, use protective gloves to guard against potential burns.
The hot oil should be handled with caution, especially when draining it into a container.
Proper Disposal of Used Oil
Lastly, it’s essential to understand that used motor oil should never be dumped in the regular trash, down the drain, or on the ground. It requires appropriate disposal because it’s hazardous to the environment.
Most areas have recycling centers for used motor oil or auto parts stores that offer oil recycling. Ensure you have a sealable container to store the used oil after draining, and then take it to a recycling facility.
This way, you save not just your pocket but also contribute to a sustainable environment.
Checking for Leaks: Post Oil Change Steps
After successfully changing your car’s oil, it’s crucial to check for any potential leaks. Neglecting this step might result in oil loss, damage to your vehicle, or even dangerous road conditions for you and other drivers.
First, start your car and let it run for a few minutes. This will allow the new oil to circulate through the engine. Then, turn the engine off and wait for a moment to let the oil settle.
Now that your car is off, grab a flashlight in case the area beneath your vehicle isn’t well-lit. Get down on your hands and knees and inspect the general area underneath your car. If you notice any puddles or wet spots on the ground, they could indicate a leak.
Next, take a closer inspection of the oil drain plug and oil filter. If you see any oil dripping or seeping from these areas, that’s a sign of a leak. It might mean that these components weren’t installed correctly. If you suspect this is the case, double-check your work and ensure everything is tightened properly.
Lastly, keep an eye on your oil level and pressure in the days following your oil change. Unexpected drops could indicate a problem like a slow leak. If you notice any issues, get your vehicle checked out immediately.
By conscientiously checking for leaks after each oil change, you will ensure that your vehicle remains in peak condition while preserving the safety of your driving environment.
Common Mistakes to Avoid During DIY Oil Changes
While changing your car’s oil may seem straightforward, some common mistakes can lead to avoidable problems. Here’s a handful of errors to watch out for:
- Choosing the Wrong Oil: Every vehicle requires a specific type of oil with unique viscosity. Using the incorrect oil can hamper your engine’s performance and may cause damage in the long run. Always check your vehicle’s manual for recommended oil types.
- Over or Underfilling: Both scenarios can cause significant issues. An overfilled oil pan can result in foamy oil that doesn’t circulate properly, while not putting enough oil can cause the engine to run dry. Always carefully measure the oil you’re adding.
- Not Changing the Oil Filter: When you’re changing your oil, you should also replace the oil filter. Neglecting to do so might contaminate the new oil with residues from the old one.
- Ignoring Torque Specifications: Both the drain plug and oil filter require particular torque levels when reattaching—too loose and they could leak, too tight and they might cause damage. Always refer to your car manual for the correct specifications.
- Forgetting to Check the Oil Level Post-Change: After replacing the oil, you should always check the oil level once the car’s engine has had a chance to circulate the new oil. This ensures you’ve added enough and it’s circulating correctly.
Conclusion
By adhering to the steps outlined in this guide, you can effectively perform a DIY oil change for your vehicle. This not only guarantees peak performance and extends your car’s lifespan but also gives you a propitious chance to engage directly with your vehicle. Though it might appear overwhelming initially, this process aids in saving substantial amounts when compared to professional servicing.
Remember, an oil change is more than just routine maintenance — it’s a hands-on way to familiarize yourself with your automobile. Though it may come with challenges, the satisfaction is worthwhile. So, gear up, stay safe, and don’t be hesitant to get a little dirty and hands-on with your car upkeep.


